| Contact |
| Back | Home |
Site
Construction
HTML and Photography
 |
How this site was constructed |
|
||||
| I used the following tools to create this web site: | ||||||
Note: This site has been in existence for going on 20 years, and during that time technology has changed a lot. Years ago I was using images captured from my video camcorder (some of them are still on the site!) and later moved to various models of digital cameras. What I have listed below represents the current process, as of December, 2010:
Canon EOS 5D Mark II Digital
Camera, usually with 20mm f2.8 lens with polarizer
3ea. 2000 Watt
Photo Studio Softbox lights
Intel Core I7 2.67 Ghz CPU, 12MB
RAM
Microsoft Windows 7, 64 bit version
Adobe Photoshop
CS4
SolutionSoft PageBreeze
HTML editor
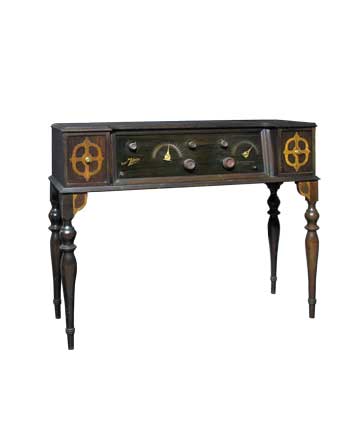
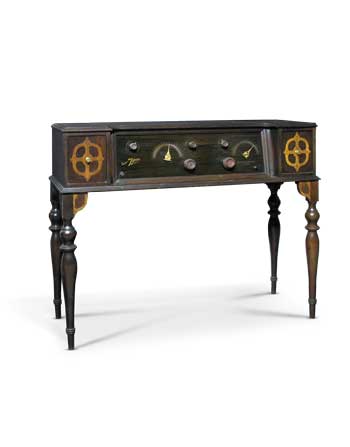
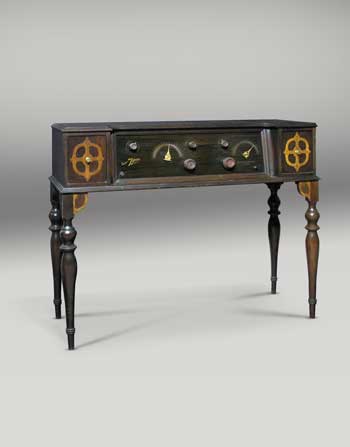
Most of the site was designed using Microsoft's Frontpage 2002. Since frontpage is no longer supported I'm now using PageBreeze, which is a solid basic WYSIWYG editor.Most of the images are JPG files with white backgrounds. The shadows are added in photoshop.
Here is the process I used to create the images:
1) Place
object on foamcore (black or white, depending on the object) below and
behind object
2)
Adjust lighting for best elimination of "hot spots" and shadow optimization
3) Adjust camera/object for the best presentation
4) Capture the image in the highest res JPG mode (I
haven't found RAW mode necessary)
5) Open the image in Adobe
Photoshop.
7) I use Photoshop to strip out the background and
tune the image,
including sharpening, color, and tone correction. I copy the stripped image to a
transparent background, then I add a white layer behind the
image. I then create additional layers to add shadows to the stripped image.
This retains the original stripped image in case I want to use it later
without the shadow, or if I want to use other backgrounds. I keep the original
PSD file and use the "Save for Web" feature to size
the file and save it as a jpeg for the web site.
8) Import the image into my page using
PageBreeze.
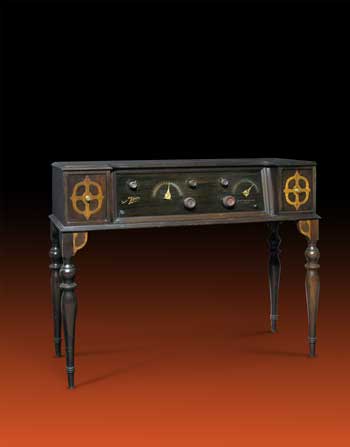
Here is an example of an image processed this way:
|
|
|
|
|
|
| Contact |
| Back | Home |